Plan View - GeoFence
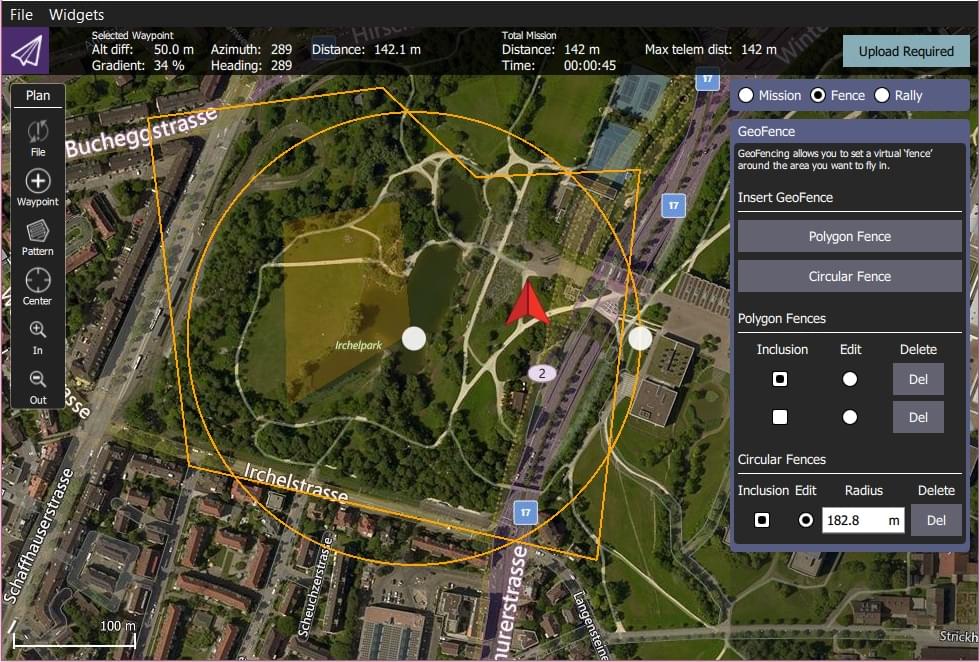
GeoFences allow you to create virtual regions within which the vehicle can fly, or in which it is not allowed to fly. You can also configure the action taken if you fly outside permitted areas.

INFO
GeoFence support is only supported by Rover 3.6 and Copter 3.7 or higher. It also requires usage of a Daily build or Stable 3.6 (once available). QGroundControl will not display the GeoFence options if they are not supported by the connected vehicle.
Create a Geofence
To create a GeoFence:
Navigate to the Plan View
Select the Geofence radio button above the Mission Command List

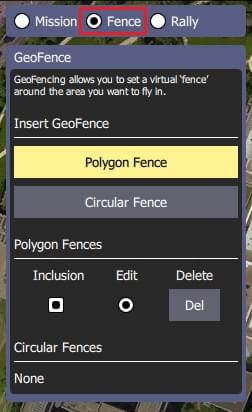
- Insert a circular or polygon region by pressing the Circular Fence or Polygon Fence button, respectively. A new region will be added to the map and to the associated list of fences below the buttons.
TIP
您可以多次按下按钮创建多个区域,从而能够创建复杂的地理围栏定义。
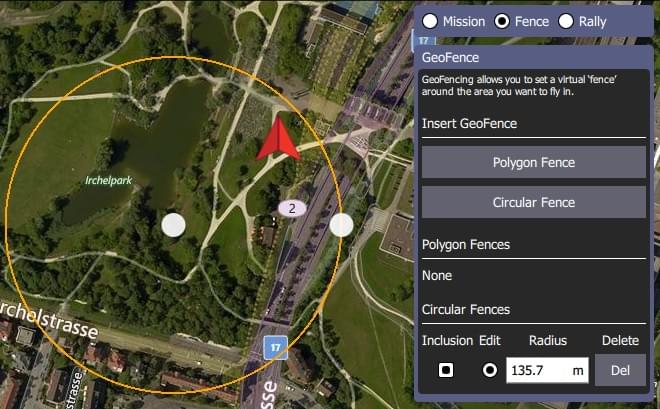
Circular region:

- Move the region by dragging the central dot on the map
- Resize the circle by dragging the dot on the edge of the circle (or you can change the radius value in the fence panel).
:::
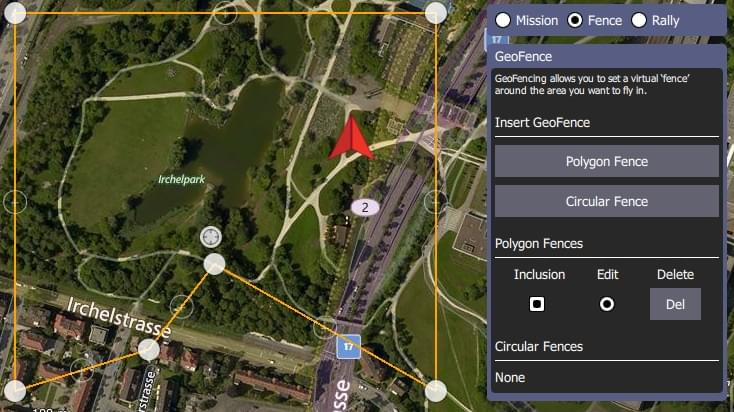
Polygon region:

- Move the vertices by dragging the filled dots
- Create new vertices by clicking the "unfilled" dots on the lines between the filled vertices.
- By default new regions are created as inclusion zones (vehicles must stay within the region). Change them to exclusion zones (where the vehicle can't travel) by unchecking the associated Inclusion checkbox in the fence panel.
Edit/Delete a GeoFence
You can select a geofence region to edit by selecting its Edit radio button in the GeoFence panel. You can then edit the region on the map as described in the previous section.
Regions can be deleted by pressing the associated Del button.
Upload a GeoFence
The GeoFence is uploaded in the same way as a mission, using File in the Plan tools.
Remaining tools
The rest of the tools work exactly as they do while editing a Mission.